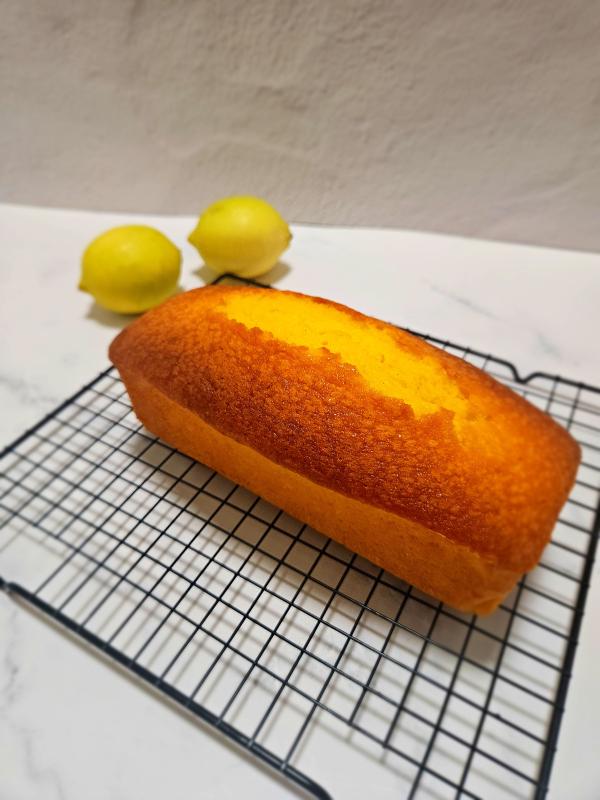

This hōjicha pound cake is all about that comforting, deeply roasted green tea flavor. Warm, nutty, and subtly smoky. Unlike matcha (which can be grassy and bitter), hōjicha is gentle and toasty, making it perfect for everyday enjoyment or pairing with a hot cup of coffee. The secret to keeping it irresistibly moist? Sour cream adds creamy richness and tenderness, and a bit of milk to keep the hōjicha powder from dry things out. The result is a soft, velvety crumb that’s dense in the pound-cake way.


Pound cakes like this one are fantastic for gifting: they slice beautifully with clean edges, stay moist for several days when wrapped properly, and the hōjicha gives them a sophisticated, unique twist that feels thoughtful and homemade.

If you are a die-hard fan of Hōjicha (or you just brought a huge bag of Hōjicha), also check out the Hōjicha Ice Cream Recipe! Ice cream maker not required.
hōjicha Pound Cake Ingredients#

- Base for richness and structure: Very soft unsalted butter creamed with caster sugar creates the airy foundation. Sour cream brings extra moisture, fat, and a subtle tang that keeps the cake tender even with tea powder in the mix.
- Flavor star: hōjicha powder delivers that signature roasted, caramel-like depth without any bitterness. To get that deep, roasty flavor without the grit, ensure you are using a finely ground hōjicha Powder.
- For tenderness: Cake flour (low-protein) ensures a fine, soft crumb. Eggs provide binding and lift, while gentle folding prevents toughness.
- Moisture insurance: Milk added gradually compensates for hōjicha’s absorbency, helping the batter stay hydrated for a reliably moist interior.
Step-by-Step Instructions with Tips#
Preheat oven to 170°C and prepare your loaf tin with grease and parchment overhang—this makes removal effortless and prevents sticking.
Cream the soft butter and sugar thoroughly until pale and fluffy.

Creaming butter. 
Take your time here—proper creaming traps air for a lighter texture and better rise. Caster vs. Granulated SugarWhile caster sugar is the gold standard for a velvety crumb, standard granulated sugar works perfectly fine. It just changes the “pore size” of the cake. Because granulated crystals are larger and heavier, they don’t dissolve as fully during creaming. The result? A slightly crunchier, more “rustic” crust and a more open, porous crumb rather than a tight, uniform one.
Add eggs one by one, beating well each time to fully emulsify.

A smooth, non-curled mixture means even baking and no greasy spots. “Room Temperature”?When a baker says “room temperature,” they mean 18°C–21°C. This is a mechanical requirement for emulsification. Cold eggs will “crash” the creamed butter, breaking the emulsion and leading to a curdled batter and a dense, greasy finished cake.
Incorporate sour cream or greek yogurt for creaminess and moisture boost.
Sour Cream vs. Yogurt vs. Cream Cheese in pound cake- Sour Cream: High fat and acidity yield the most tender, moist crumb.
- Greek Yogurt: Provides a similar tang but with more protein, creating a slightly sturdier cake.
- Cream Cheese: The “gold standard” for pound cake; it creates a velvety, tight, and heavy crumb that is uniquely rich. Check out this heavenly Lemon Cream Cheese Pound Cake.
In this specific recipe, we favor sour cream over cream cheese because tea powders (like Hōjicha or Matcha) are highly “hygroscopic”, meaning they soak up moisture like a sponge.
Cream cheese has a lower water content and a higher fat/protein density, which can make a tea-based cake feel unpleasantly “choke-y” or dry. Sour cream provides a higher moisture-to-fat ratio, ensuring the crumb stays plush and springy even with the added dry solids of the roasted tea powder.
Sift the dry ingredients (flour, hōjicha, baking powder, salt) to aerate and distribute evenly.

Mixing dry ingredient to wet. Fold them in gently in stages—use a spatula and fold, don’t stir or beat.
What happens if you overmix after adding flour?Overworking develops too much gluten from the flour proteins. The cake ends up dense, tough, chewy, or rubbery instead of soft and tender. Always stop as soon as it’s just combined—a few tiny lumps are fine and will disappear in the oven.
Add milk gradually until the batter is thick but drops in a smooth ribbon from the spatula. This extra liquid is crucial for balancing hōjicha’s drying effect.
Pour the batter into the tin. Smooth the surface, tap the tin gently to release any air bubbles. If you’re using a tall or vertical loaf tin like I do, lightly score a line across the top with a knife to help it split evenly as it bakes.

Batter with scored line across the top. Bake 50–60 min. Check at 45 min bake. If the top starts to brown too quickly, hōjicha tends to darken faster, cover it loosely with foil.
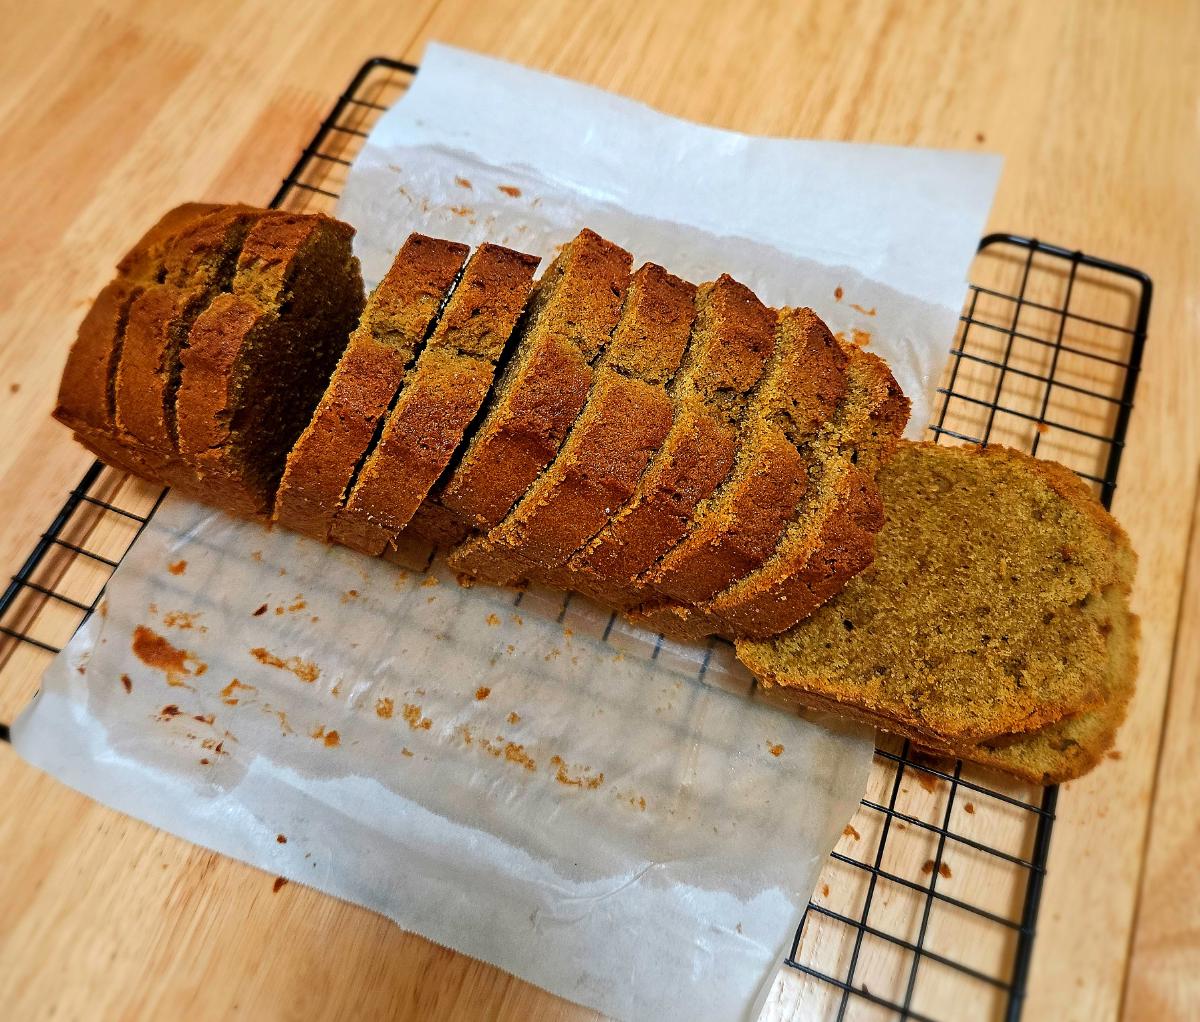
Cool partially in the pan, then fully on a rack—this prevents sogginess and lets flavors settle.


You must cool the cake for 2–4 hours before slicing. This allows for starch retrogradation, which is the process where the cake’s structure sets. Slicing too early lets essential steam escape, which instantly dehydrates the crumb and makes it crumble.
- (Optional) Finish with a light dusting of powdered sugar or a simple hōjicha-tinted glaze for extra polish and visual appeal.
Success comes down to three big things:
- Room-temperature ingredients for smooth emulsion and even baking.
- Thorough creaming for lift and lightness.
- Gentle folding + adjusted milk to keep moisture locked in despite the tea powder.
Recipe#

Hōjicha Pound Cake (Japanese Roasted Green Tea Cake)
Ingredients
- 180 g unsalted butter, very soft at room temperature
- 150 g caster sugar
- 3 large eggs, at room temperature
- 200 g cake flour
- 4 g hōjicha powder
- 4 g baking powder
- pinch salt
- 60 g sour cream / full-fat Greek yogurt, at room temperature
- 45 ml milk
Instructions
- Preheat your oven to 170°C (340°F) for conventional or 160°C for fan-assisted. Grease your standard 21–22 cm (8–8.5 inch) loaf tin thoroughly and line it with parchment paper, leaving an overhang on the long sides for easy lifting later.
- In a large bowl, beat the very soft butter and caster sugar together using a spatula, hand mixer, or stand mixer until the mixture becomes pale, fluffy, and noticeably increased in volume (this usually takes 3–5 minutes by hand or 2–3 minutes with electric beaters). This creaming step is crucial, since it traps air bubbles that help the cake rise and gives that signature tender, velvety texture.
- Add the room-temperature eggs one at a time, beating thoroughly after each addition until the mixture looks smooth and fully emulsified. It might appear slightly curdled at first—that’s completely normal and will smooth out as you continue.
- Stir in the sour cream (or Greek yogurt) until everything is evenly combined and creamy. This step adds richness and extra moisture that will shine through in the final bake.
- In a separate bowl, sift together the cake flour, hōjicha powder, baking powder, and salt. Sifting aerates the dry ingredients and ensures the hōjicha distributes evenly without clumps.
- Gently fold the dry mixture into the wet ingredients in 2–3 additions using a spatula and a folding motion (cut down the middle, scoop up from the bottom, and fold over). Stop as soon as you see no large dry streaks. Overmixing here is the enemy!
- Gradually add the milk, folding it in bit by bit, until the batter reaches a thick but droppable consistency. It should fall slowly off the spatula in a smooth ribbon.
- Pour the batter into your prepared loaf tin, smooth the top with the spatula for an even rise, and gently tap the pan on the counter a few times to release any trapped air bubbles. You can score a line across the batter so that it split evenly as it bakes.
- Bake for 50–60 minutes. Start checking at 45 minutes, if the top is browning too quickly, loosely tent it with aluminum foil to prevent over-darkening. The cake is done when a skewer inserted in the center comes out clean or with just a few moist crumbs attached.
- Let the cake cool in the tin for 10–15 minutes (this helps it set and release cleanly), then lift it out using the parchment overhang and transfer to a wire rack to cool completely, at least 2–4 hours before slicing or wrapping.
- (Optional) Once fully cooled, dust the top generously with powdered sugar for a simple elegant look, or make a quick glaze by mixing icing sugar with a splash of milk and a pinch of hōjicha powder for extra tea flavor.
Nutrition Facts
Servings 1 slice
Amount Per Serving
% Daily Value *
* Percent Daily Values are based on a 2,000 calorie diet.
Your daily value may be higher or lower depending on your calorie needs.


Storage Tips for Maximum Freshness#
Room temperature (ideal for the first 3–4 days): Once the cake has cooled completely (at least 2–3 hours to release all steam), wrap it tightly in plastic wrap to seal in moisture, then place in an airtight container or zip-top bag. Store in a cool, dry spot away from direct sunlight or kitchen heat/humidity.
Pound cakes like this one actually reach their peak flavor 1–2 days after baking—the roasted hōjicha notes deepen, the moisture evens out across the crumb, and the texture becomes even silkier and more cohesive. Fresh-baked is wonderful, but waiting a day or two often makes it taste even better!
Refrigerator (for 5–7+ days if needed): Use the same tight wrapping and container. The cold can firm up the butter, making slices feel slightly drier or less flavorful at first—always let them sit at room temperature for 30–60 minutes before enjoying to restore that soft, velvety bite.
Freezer (for longer-term enjoyment, up to 3–4 months): Cool fully, then double-wrap tightly (plastic wrap first, then foil or freezer bag) to prevent freezer burn and dryness. Slice into portions beforehand for easy thawing. Thaw wrapped at room temperature (or overnight in the fridge), then unwrap to avoid condensation. Gently warm individual slices in the microwave if you like them soft and fresh-tasting.
Frequently Asked Questions#
How can I tell when the cake is perfectly baked?
Use the skewer test: insert into the center, it should come out clean or with just a few moist crumbs (no wet batter clinging).
For extra confidence, check the internal temperature with a probe: 93–99°C (200–210°F) means it’s fully set without overbaking.
My cake turned out dry—what went wrong?
Can I swap hōjicha for matcha or another tea?
How should I store leftovers to keep it as fresh as possible?
Can I add extras like nuts, chocolate, or fruit?
Hope you enjoy this recipe! Please also check out the Hōjicha Ice Cream Recipe!