
If you love the toasty, nutty aroma of hōjicha and want to make homemade ice cream without an ice cream maker, this custard-style hōjicha ice cream is a great option. It uses egg yolks, milk, cream, and sugar for a rich, creamy base, then freezes before being blended in a food processor until smooth. The result is a deeply flavorful roasted green tea ice cream with a texture that feels rich, dense, and almost gelato-like.
This method is simple. Instead of churning in an ice cream machine, you freeze the custard flat first, then blend it until creamy and airy. It is an easy way to make homemade hōjicha ice cream with a smooth texture using basic kitchen tools.

Why You’ll Love This Recipe#
- No ice cream maker needed: A food processor does the work instead.
- Rich custard-style texture: Egg yolks, milk, and cream create a smooth and luxurious base.
- Deep roasted hojicha flavor: Nutty, mellow, and naturally less bitter than matcha.
- Simple ingredients: No stabilizers, gums, or specialty ingredients required.
- Great make-ahead dessert: Perfect to keep in the freezer for small scoops anytime.
Ingredients#

- Whole milk: Adds body and milk proteins for a creamy texture.
- Double cream (heavy cream): Brings richness and helps the ice cream feel smooth on the tongue.
- hōjicha powder: Gives the ice cream its roasted, nutty, café-style flavor.
- Egg yolks: Help emulsify the base and improve creaminess.
- Sugar: Sweetens the custard and helps soften the frozen texture.
- Vanilla: Optional, but both help round out the hōjicha flavor.
- Salt: See Why Do Dessert Recipes Call for Salt?
Hōjicha is roasted, so it has a warmer, toastier flavor and much less bitterness than matcha. That makes it especially forgiving in desserts like ice cream, where you want a deep tea flavor without harsh grassy notes.
This recipe uses regular sugar because it is simple, widely available, and gives a classic ice cream flavor. Compared with allulose, sugar usually freezes a little firmer and can be slightly more icy straight from the freezer.
Let the ice cream sit out for a few minutes before scooping for the best texture. If you want a softer low-sugar version, check out my no sugar vanilla ice cream.
Step-by-Step (with Photos)#
- Combine the milk, cream, vanilla, and salt in a saucepan. Heat gently until steaming, with tiny bubbles around the edges. Do not boil.

- Sift in the hojicha powder and whisk until smooth. This helps bloom the roasted tea flavor and prevents clumps.


Avoid boiling the mixture. High heat can affect the final texture and makes the custard more likely to curdle later.
Let the mixture cool for about 20–30 minutes so it is still warm, but not hot enough to scramble the egg yolks (ideally less than 45°C (113°F)).
Whisk the egg yolks and sugar until the mixture is smooth and slightly lighter in color.


- Slowly whisk some of the warm hojicha milk into the yolks, then return everything to the saucepan. Cook over low heat, stirring constantly, until the custard reaches 80°C (176°F).


. I know the photo show 67.2°C. That is because I will be too busy turning off fire and removing it from the heat when it reaches 80°C rather than taking photo.")
Around this temperature, the egg yolk proteins thicken the custard enough to give body and creaminess without turning grainy. Too much heat can push the eggs too far and make the texture less smooth.
(If you are using a ice-cream maker, now you can chill the mixture, and churn it in the machine.)
Pour the custard into a zip-top bag and freeze it flat until completely solid. This makes it freeze faster and blend more easily later.

- Now we will blend frozen custard in the food processor. Break the frozen custard into chunks and blend until creamy and airy. It will look rough at first, then come together into a smooth ice cream texture.


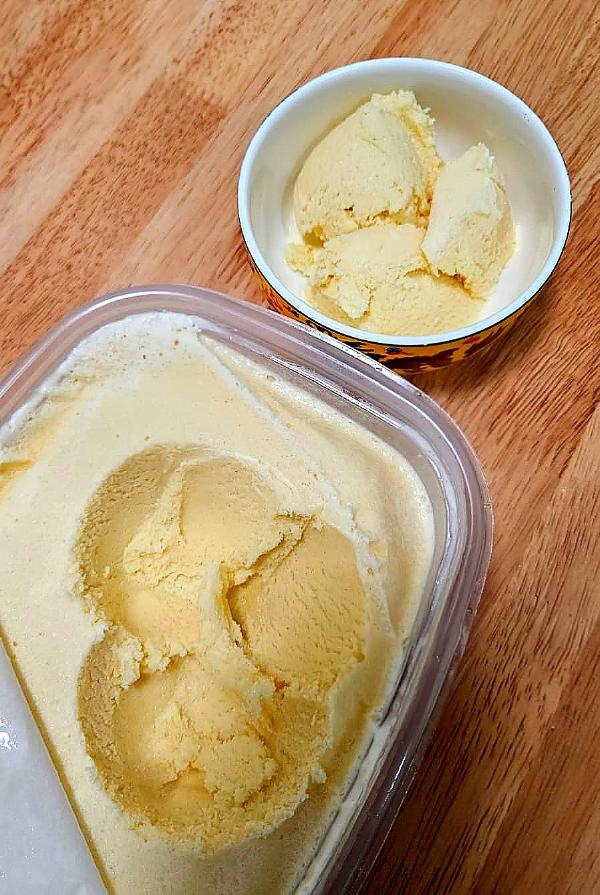
- Transfer the blended ice cream to a container, smooth the surface, and press parchment paper directly on top before freezing again for 2–3 hours.


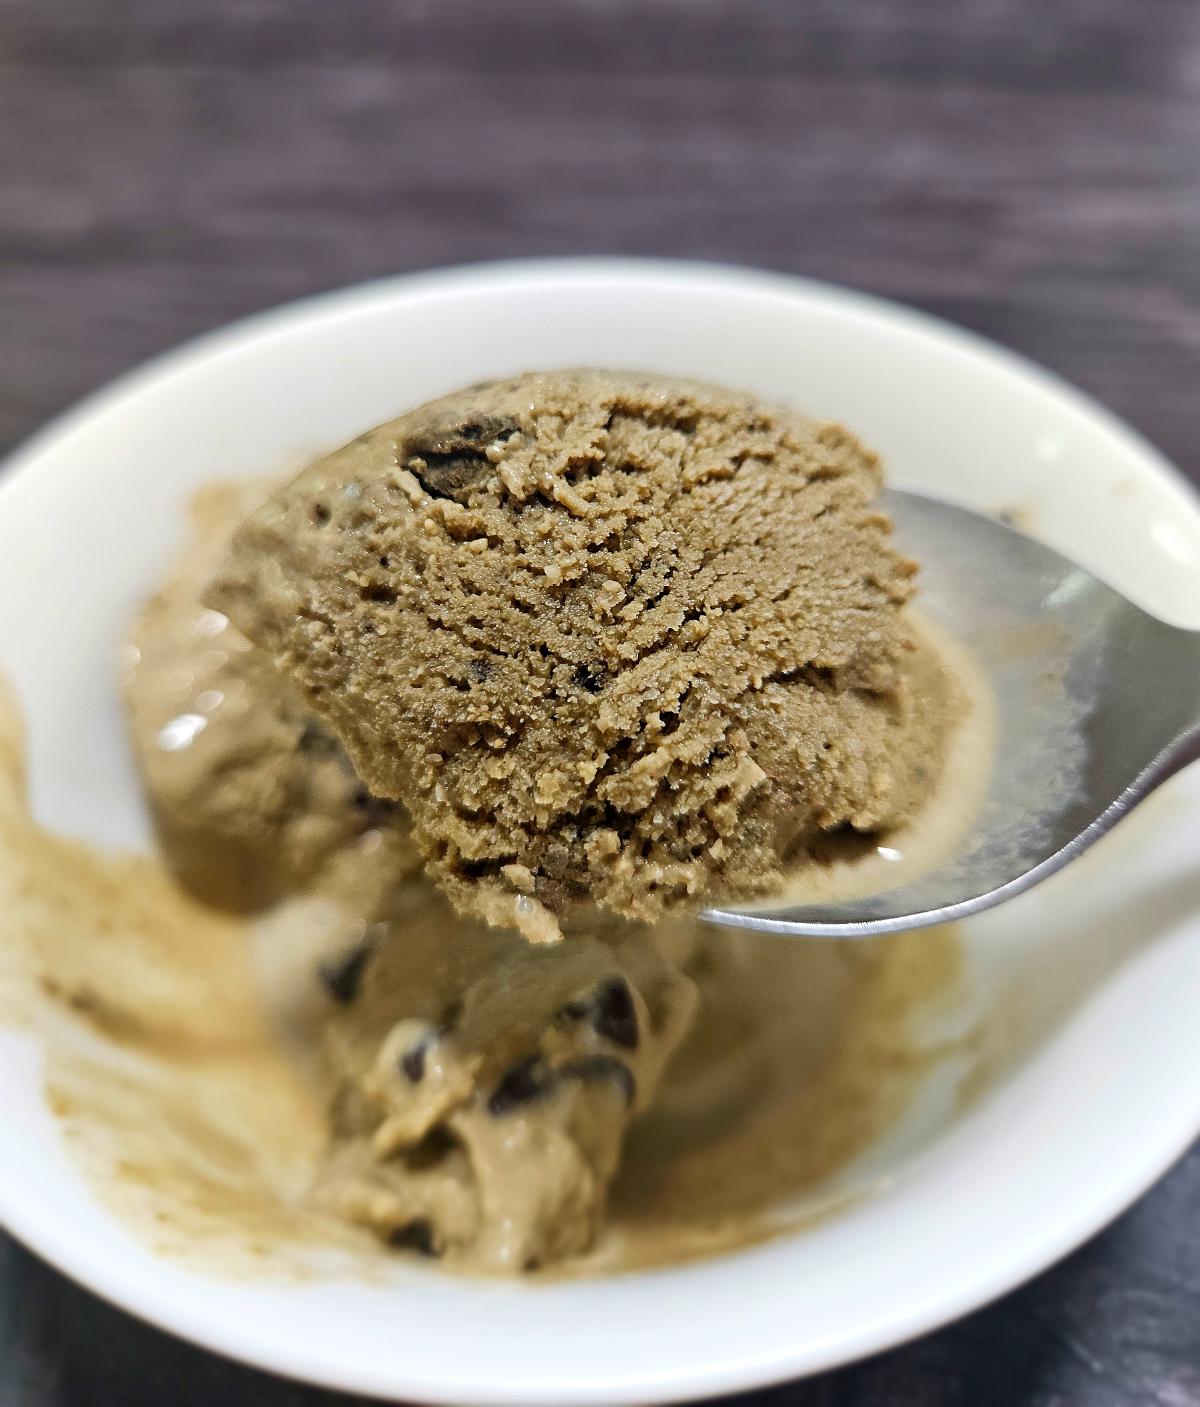
Result#


Let the ice cream sit at room temperature for about 5 minutes before scooping. This makes the texture creamier and much easier to scoop neatly.
Why This Method Works#
A classic churned ice cream machine freezes the base while constantly moving it, which helps keep ice crystals small. This recipe mimics part of that process by freezing the custard first, then breaking it up and blending it in a food processor. The blending step helps smooth out the frozen custard and adds a bit of air, giving you a creamier texture without special equipment.
Recipe#
Hōjicha Ice Cream Without an Ice Cream Maker (Food Processor Method)
Ingredients
- 300 g whole milk
- 300 g double cream (heavy cream)
- 18 g hōjicha powder
- 15 ml vanilla extract or vanilla paste (optional, but rounds the flavor)
- pinch fine salt
- 2 large egg yolks (about 37 g)
- 100 g sugar
Instructions
- In a medium saucepan, combine the milk, cream, vanilla (if using), and salt. Heat gently over medium heat until the mixture is steaming and just starting to bubble around the edges. Do not boil.
- Sift in the hōjicha powder, or whisk it in gradually, and whisk until smooth. Keep the heat gentle and whisk for 30–60 seconds to fully bloom the roasted tea aroma.
- Remove from the heat and let the mixture cool for about 20–30 minutes. This deepens the hōjicha flavor and lowers the temperature so it will not cook the egg yolks.
- In a separate bowl, whisk the egg yolks with the sugar until smooth and slightly lighter in color. Slowly whisk a ladleful of the warm hōjicha mixture into the yolks to temper them, then pour everything back into the saucepan.
- Return to low heat and cook, stirring constantly, until the custard thickens slightly and reaches 80°C (176°F). If you do not have a thermometer, it should coat the back of a spoon and leave a clear line when you swipe a finger through it.
- Pour the custard into a zip-top freezer bag and lay it flat, or use a shallow container. Seal well, chill in the fridge for about 30 minutes, then freeze for at least 4 hours or overnight until fully solid.
- Break the frozen custard into chunks and add them to a food processor. Blend until smooth, creamy, and airy. It will go from icy bits to clumps, then suddenly turn creamy.
- Transfer to a freezer-safe container, smooth the top, and press parchment paper directly onto the surface. Freeze again for 2–3 hours to firm up before serving.
- Let the ice cream sit at room temperature for about 5 minutes before scooping for the best texture.
Nutrition Facts
Servings 1 scoop (100g)
Amount Per Serving
% Daily Value *
* Percent Daily Values are based on a 2,000 calorie diet.
Your daily value may be higher or lower depending on your calorie needs.


Storage Tips#
- Store in an airtight container for up to 2 weeks
- Press parchment paper directly on the surface before closing the lid
- For the best flavor and texture, enjoy within the first few days
- Avoid repeated thawing and refreezing if possible
FAQs#
Do I need to strain the hōjicha base?
Usually no. If you sift in the hōjicha powder and whisk it well while warm, it should blend smoothly.
If your hōjicha powder is especially clumpy or coarse, you can strain the custard through a fine sieve before chilling.
Can I skip the egg yolks?
Yes, but the texture will be less rich and less smooth.
Egg yolks contain lecithin, which helps emulsify the fat and water in the base for a creamier result. If you want an egg-free version, try adding 1–2 tablespoons of milk powder instead to help reduce iciness.
Can I use allulose instead of sugar?
Yes. Allulose usually freezes softer than regular sugar, so the ice cream may be more scoopable straight from the freezer.
This version uses sugar because it is easier for most people to find, but if you want a lower-sugar option, check out my no sugar vanilla ice cream.
Can I use matcha instead of hōjicha?
How long will it last?
Store it in an airtight container for up to 2 weeks.
For the best texture and aroma, it is best enjoyed within the first few days.